Five Tips for Sewing Bralettes for a Larger Bust
The lingerie making continues this month, this time with a bralette, and a few tips for sewing bralettes for a larger bust!
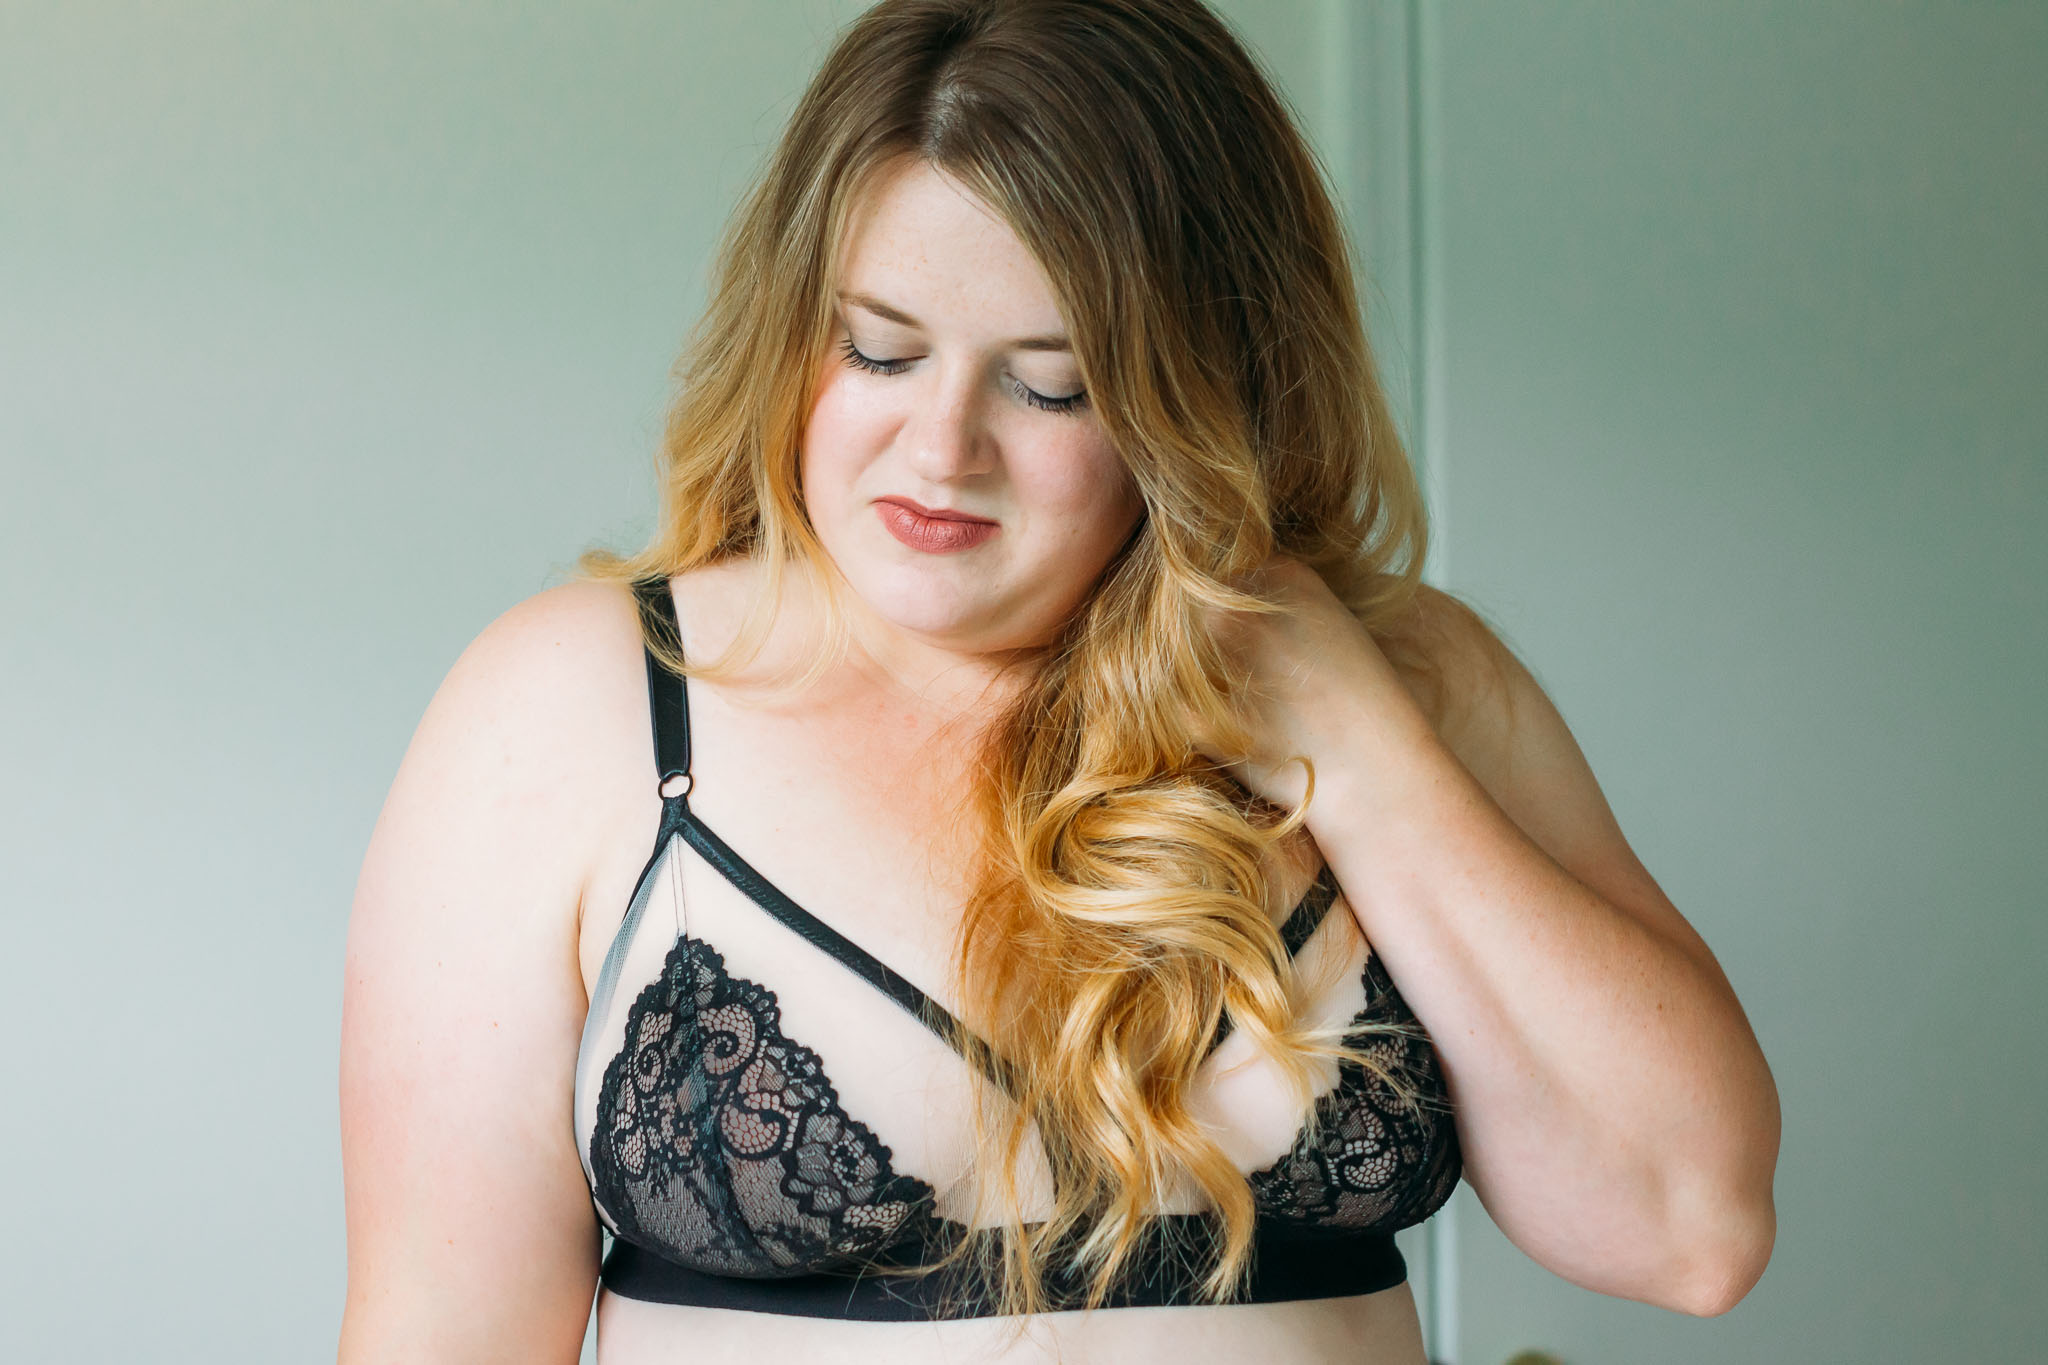
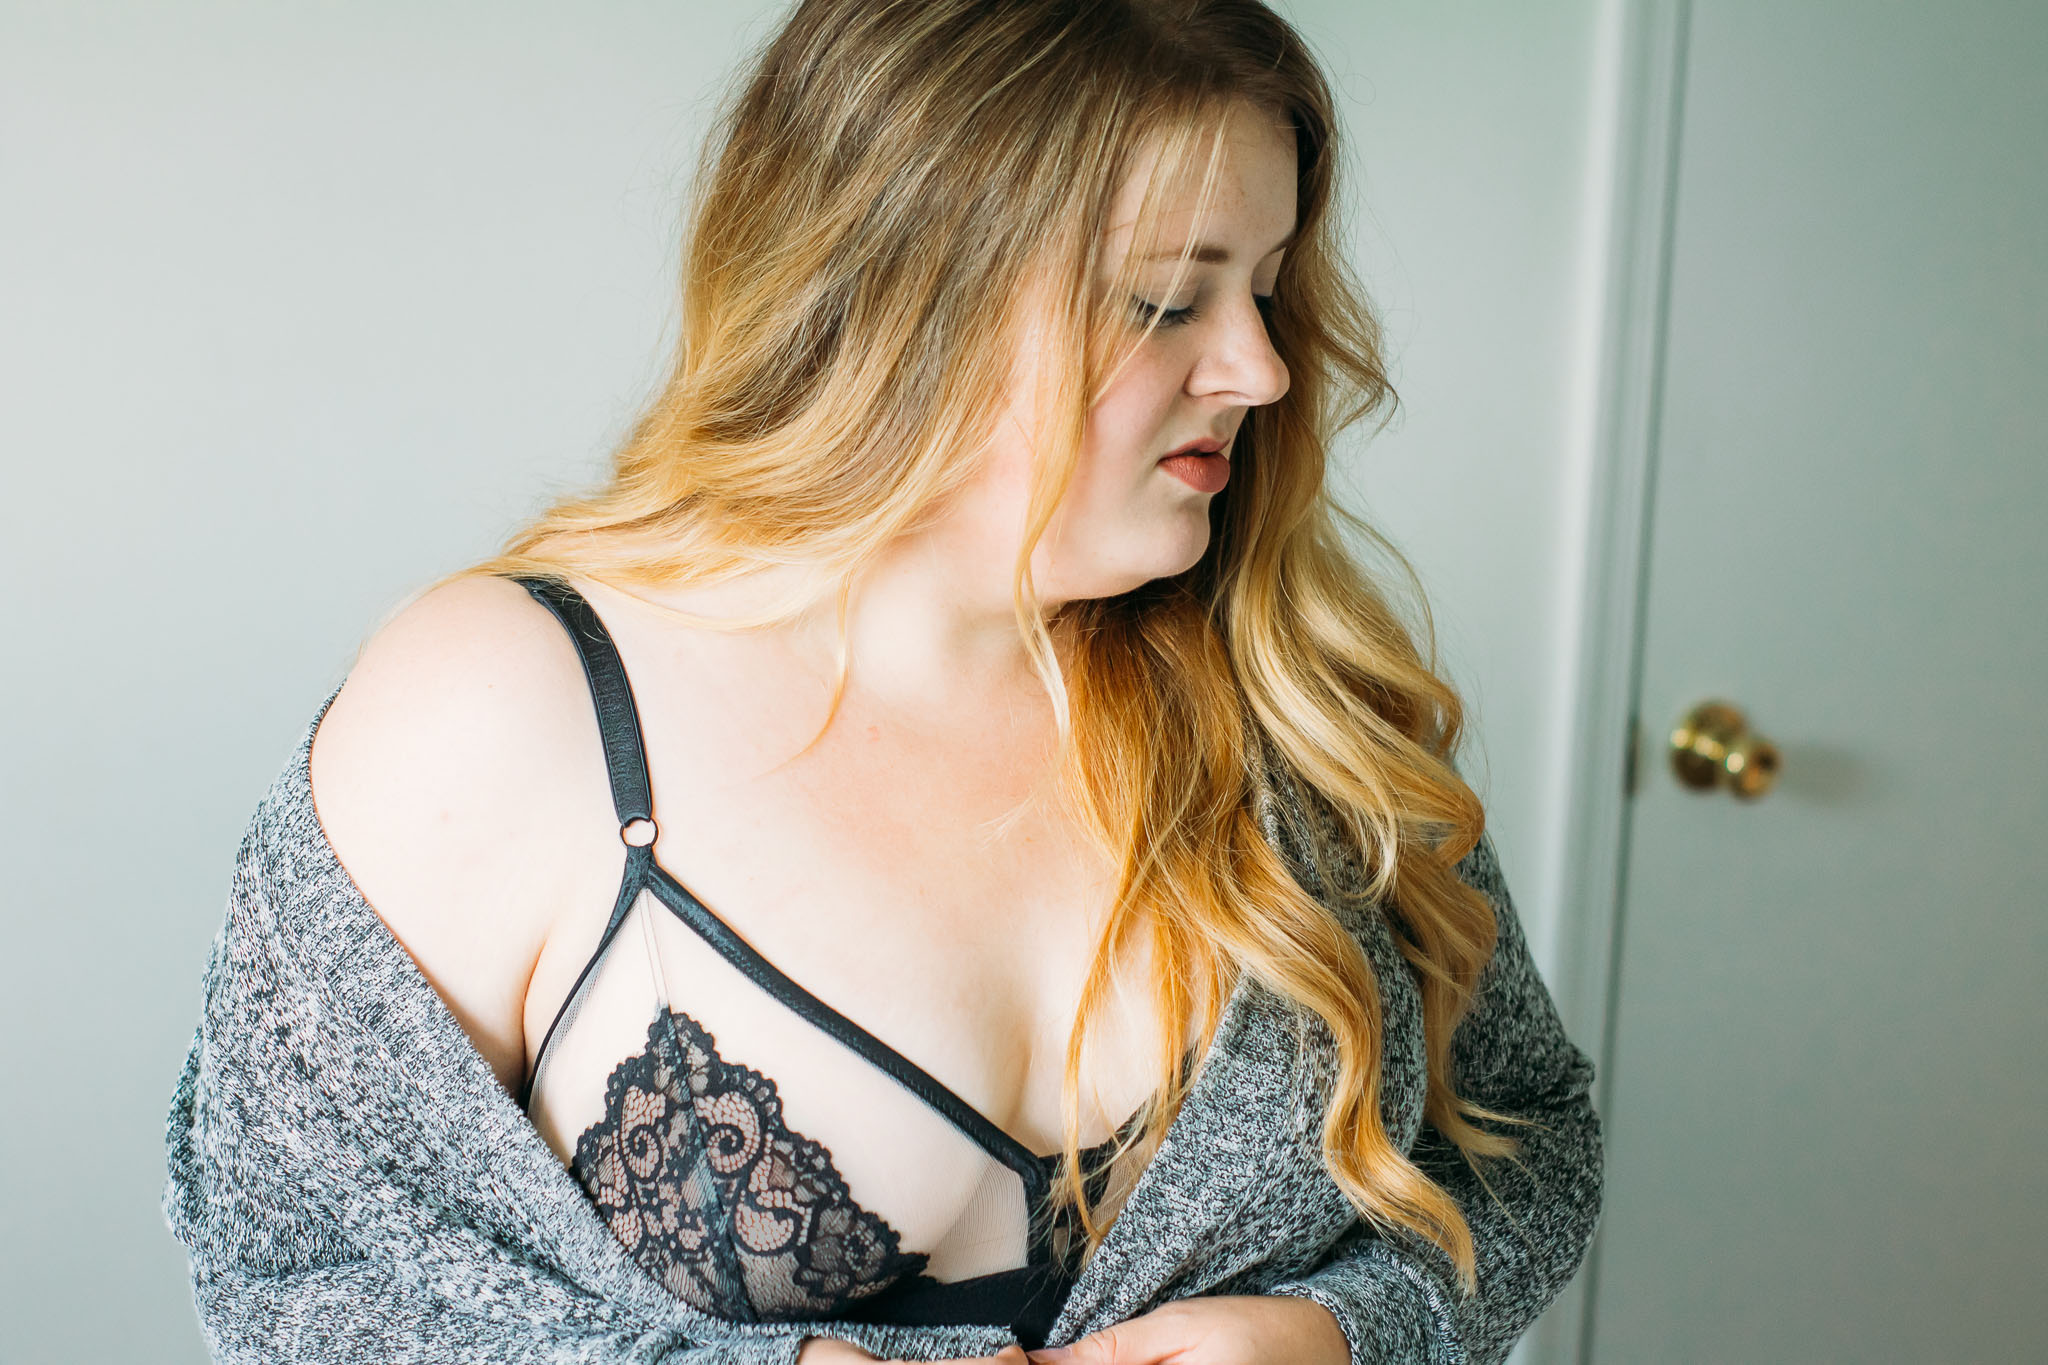
If you’re like me and have a larger/fuller/bigger bust, you probably know the frustration of trying to find a bralette that fits and is actually wearable. We want comfort and lightweight support just as much as the next person! I had all but written off the bralette as an impossible option for me, but I couldn’t resist the gorgeous and super feminine lace Jordy Bralette from Emerald Erin, so I decided to revisit the challenge of finding a wearable bralette. And I was pleasantly surprised to see that this pattern actually worked for me!
Though the pattern does have some size limitations, it has a larger size range for a bralette than I had come across, and has a couple features that make it possible to achieve a better fit with a full bust.
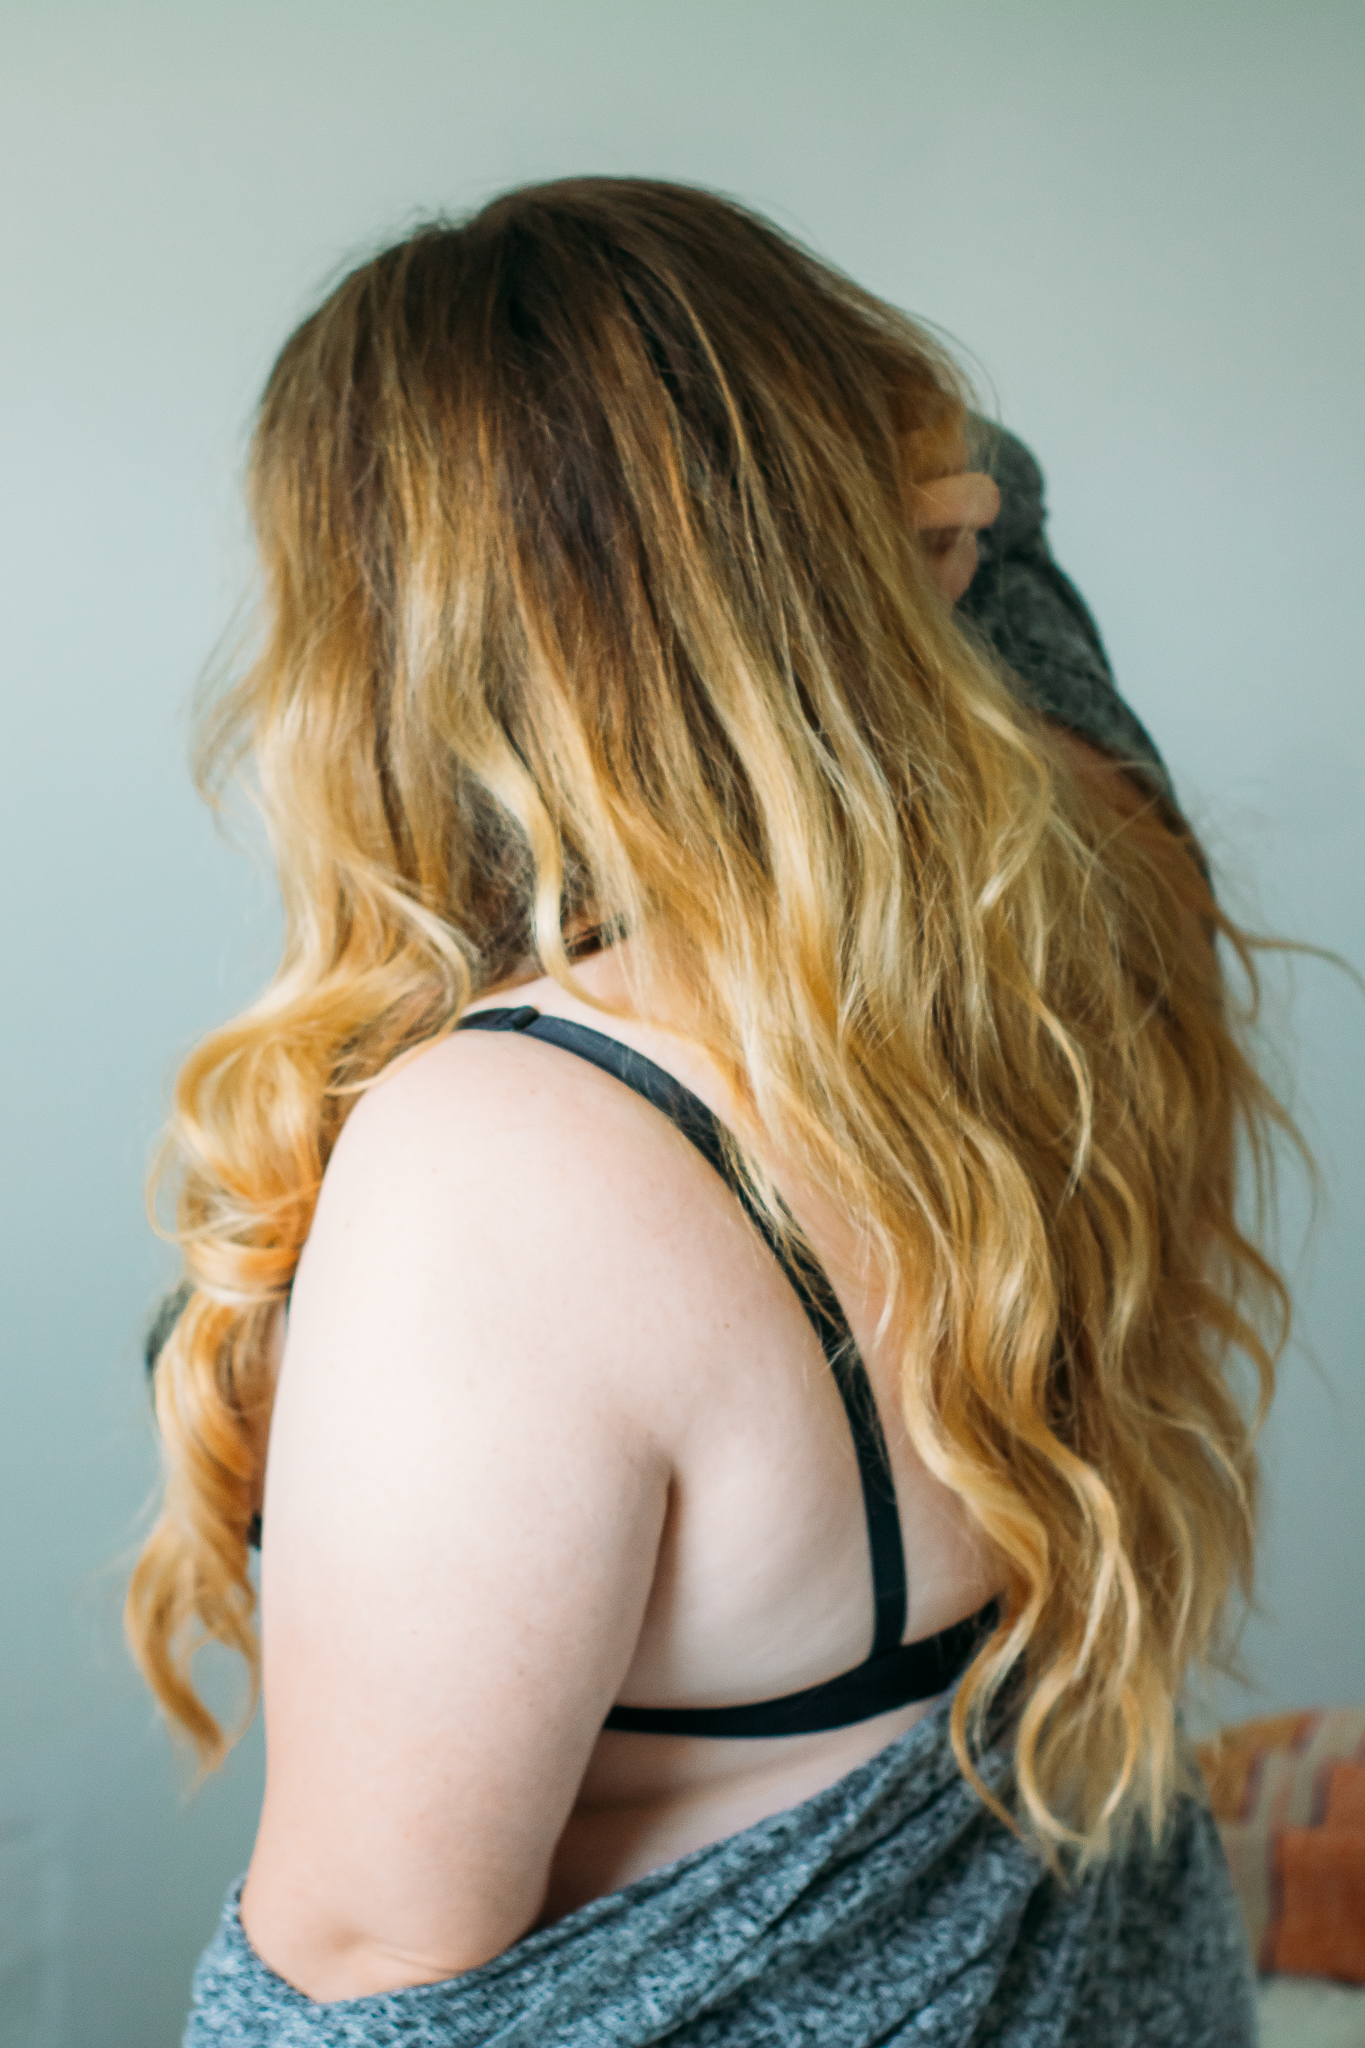
First, the band and straps are adjustable. This is huge! I usually find with ready-to-wear (RTW) bralettes and lounge bras that they’re a pull on style with no adjustable band and/or strap. And because RTW tends to size up everything as they increase sizes, once I find a size with cups that fit, the back band and shoulder straps are too big and there’s nothing I can do to adjust their fit. With the Jordy, you can have a larger cup and still fit the straps to a narrow back or shoulders.
In that same vein, the bralette is a simple triangle style with two-piece cups attached to an elastic band. This allows for easier customization—you can make the band whichever size you need, and match it to a larger cup (or draft a larger cup, if needed). Since there’s no cradle, bridge, etc (check out my previous post for bra terms!), you can adjust the cups without it affecting other parts of the bra much. For mine, I also added a couple of horizontal pieces of extra fold over elastic, just to bring the cups closer together a touch.
While the Jordy is a great starting point for sewing bralettes with a full bust, I have a couple more tips that will help you make a more comfortable and functional bralette:
Measure yourself every time you make a bra, and check the pattern’s size chart each time. This is already good practice for sewing clothing, but its even more important when sewing bras. Your body might’ve changed, or the pattern size chart might be slightly different than another pattern or even your RTW size, and knowing clearly where you fall on a size chart will better set you up for success. For example, fo my Jordy bralette, I measure as a 36FF on Emerald Erin’s size chart. An FF is equivalent to an H in US sizes. I was shocked when I saw this, because with the Wacoal size chart (on of my favorite RTW brands), I’m a 36DDD, or a UK E. Obviously if I had made my “normal” size, the cups would not have fit. Now, the Jordy Bralette doesn’t have a 36FF so my next option was a 34FF, but since the band elastic was very stretchy and the bra design had some wiggle room for adjusting fit as I mentioned earlier, I decided to just go with that size. Of course for more complicated bra patterns I would have to worry about sister sizing and the impact going down a band size would have on the cup size, but in this particular instance that relationship was inconsequential.
And as I mentioned earlier, look for a bralette with an adjustable band and straps. I have a short upper body (the distance from my shoulder to apex is not very long), so having a way to adjust the straps is crucial for me. I really like the Jordy Bralette’s straps because the sliders are on the front instead of the back. My Wacoal bras are designed the same way and I love this style because you can more easily adjust your fit once you’ve put the bra on.
Use a band elastic with plenty of support. Most of the support in a bra comes from the band, not the straps, so you really want to make sure that that is sized correctly and is sturdy enough. For the Jordy, you could try an elastic with a little less stretch, or a wider elastic as well. I found the band elastic that comes in the Jordy Bralette kit from Emerald Erin to be comfortable to wear all day, but it does have a tough more stretch than I’d like.
Line the cups with something like power net for more support. This will help counteract the weight of the breast which will in turn put less strain on the straps. You can also make the cups out of more stable knits like a scuba or compression knit, and the Jordy can be made with a foam cup for more coverage as well.
Finally, make sure to wear your bralette around for a day or so before you decide on changes you’d like to make for next time. Sometimes we make things and they seem to fit fine while we stand stationary in front of the mirror, but once we start to move and go about our daily lives the fit issues make themselves known. Conversely, you might be surprised to find that you can wear your bralette for the day without discomfort. Either way, knowing how the bralette fits as you move will help you better assess what changes you’d like to make on future versions. Also, you’ll probably notice that the elastics and hook and eye fabrics will soften with wear and become less stiff too, so make sure to give those a chance as well.
Again, I know that the Jordy isn’t the standard in inclusive bralette sizing, but I do think its a quality pattern with more sizes than you’re likely to find in RTW options with the benefits of adjustable straps and band. And I hope that these tips can help you achieve a comfortable bralette with whatever pattern you choose to use. Update: I’ve received some excellent recommendations for other full bust bralette patterns and styles with a larger size range, and wanted to share those as well:
Poppy and Dahlia bralettes from House Morrighan
Julia bralette from Jalie
Cottesloe curve from Megan Nielsen (a swim pattern that could be used for a lounge bra)
If you’ve got a favorite bralette pattern do share in the comments! And make sure to tag your lingerie makes with #sewmystyle2019 on Instagram or add them to the Facebook group album. And if you want to sew lingerie along with us this month, there’s still time to sign up for the Sew My Style newsletter for more details and coupon codes for our two featured patterns and, for the first time, a featured materials sponsor!


